In this post, I repeat some of the work from the previous blog entry, because when I pulled up the masking tape, which was too strong (tacky), it pulled up some of the tan-colored wood filler, so some of the fret slots had to be refilled in areas. This happened because the wood filler adhered rather a bit too securely to the tape. Also, the common masking tape left sticky residue all over the fingerboard as showcased in the following picture.
I removed the sticky residue with naphtha. There is
something interesting that I learned about naphtha during this
project. It's not sold in California, where I live, but it's
still available ... just under a different name. Essentially,
naphtha is lighter fluid. It's the same key ingredient. Some
companies will add other ingredients, but from the research
that I've done, those additional ingredients (if any) in lighter
fluid will not harm the guitar [also, you're not soaking
the wood in the liquid].
So, a clean rag/towel with a bit of lighter fluid will clean
off the sticky tape residue just fine. [and for God's sake, don't
smoke when working with any flammable solutions on guitars!]
Light fluid dissipates quickly, but start out with a little amount
and add more as you feel necessary. Elbow grease is a
large portion of the process. Your goal is to remove 98% of
the sticky residue so that you can begin hand-sanding and
you will not have to worry about clogging up the sandpaper
with glue.
Work outside, with a facemask. Too windy of a day will
cause the lighter fluid to evaporate too quickly. Do not
work in the direct sun and preferably in the low~mid 70's
(approx 22c). If you have a high-end guitar and still confident
in your aptitude, consider working in the garage with a
fan and outside doors open and wear a face mask.

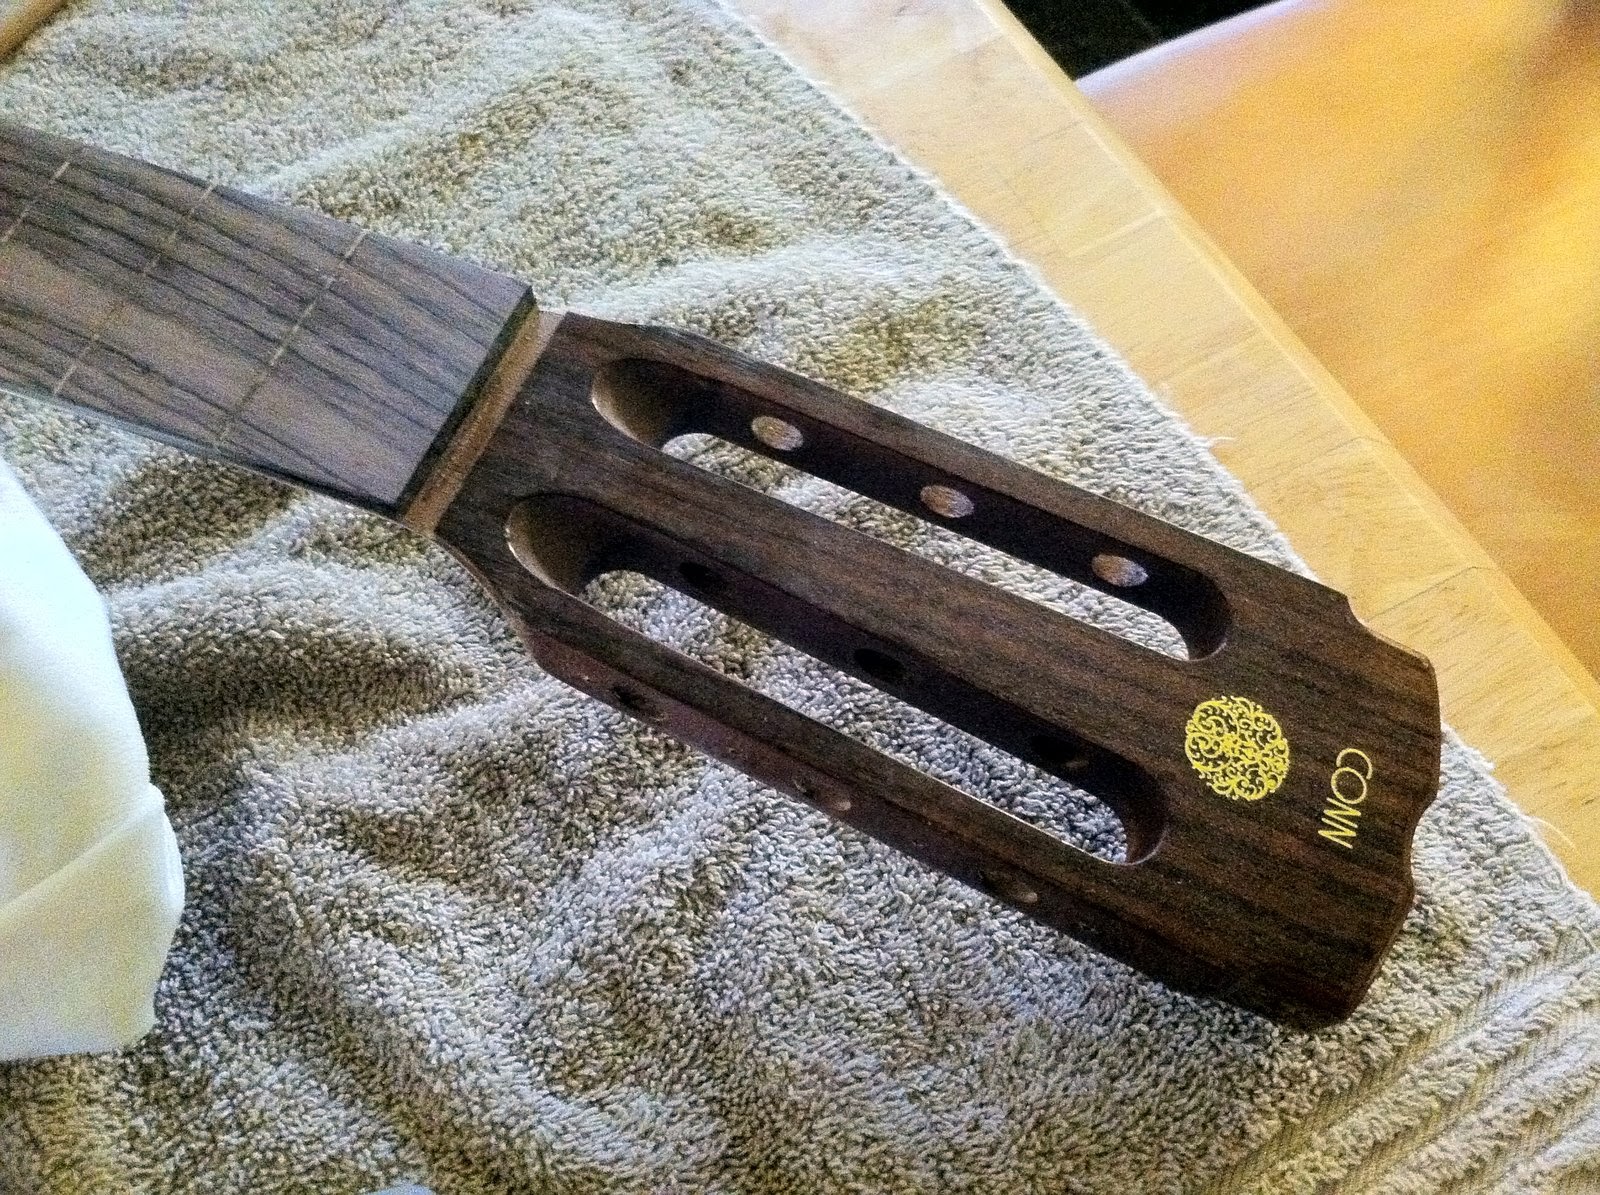
The following images in this blog entry showcase
the completed fingerboard.
There are portions of some of the fret slots that
appear to have woodless gaps in them, but actually,
it is filled with rosewood shavings from when I
leveled the fingerboard. I chose to go with this
two-tone approach as I wanted a semi-zebra-esque
look to final presentation.


The next step will be the hardware cleaning on the headstock.
Nice, by adding the lighter dust to the old fret slots it allows you to still see where the frets should be, I have been working on cigar box guitars now for about 2 months working on my 3rd and 4th build now, some are freless but getting ready to do a 6 string for my daughter as opposed to the 3 string ones I have been doing.
ReplyDeletethanks. that's really cool @ cigar box guitars. i've only seen pics of them. if you have the time, consider making a blog journaling the progress. i'll subscribe! :)
Delete